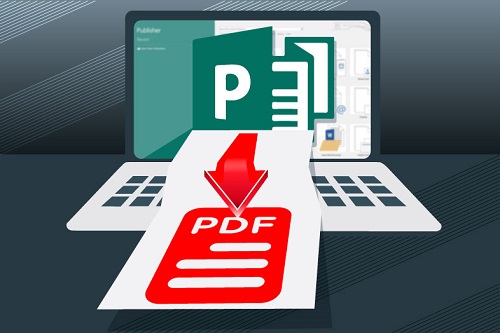
How to Store PDF Files on Microsoft Publisher?
Microsoft Publisher is an excellent application of desktop publishing given by Microsoft, which offers you to make professional docs. Most users reported that when they are attempting to store a publisher file such as XPS or PDF, users facing this error ‘Microsoft Publisher cannot save the file’ on their device due to the outdated Adobe Reader. So, if you are troubling this error, then here are the steps to store the PDF files on MS Publisher.
Store PDF Files in MS Publisher 2016 or Later
- Firstly, you have to shut the MS Publisher.
- After that, select the Menu button.
- Then choose the Settings option.
- You should click on the Devices option.
- Thereafter, pick the Printers and Scanners option.
- You have to unselect the option of ‘Let Windows manage my default printer’ when it’s not chosen.
- Now, select the device beneath the ‘Printers and Scanners’ section other than the standard printer.
- You should choose the button of Manage.
- Then select the ‘Set as default’ option into the next screen.
- Go to the printer beneath the Printers and Scanners’ section.
- Then navigate to the Manage button and click on it.
- After that, choose the ‘Set as default’ option.
- You have to begin the Publisher and attempt storing the file as XPS or PDF.
Store PDF Files on MS Publisher’s Previous Version
- Firstly, compress the picture in the doc.
- After that, get clear of any large images or page backgrounds from the doc.
- You should delete the transparent pictures from the doc.
- Later, delete the image effects like brightness, corrections, or recolors from the doc.
- Now, attempt to install the version of 64-bit of MS Publisher.
Upgrade MS Office
- You have to invoke the Office application on your system.
- Thereafter, navigate to the File option.
- Then reach the Account section.
- You should click on the Update Options.
- Go to the Update Now button and click on it.
- Afterward, select the ‘Enable Updates’ option.
Fix MS Office
- Firstly, you should invoke the Control Panel on your system.
- After that, reach the Programs option and click on it.
- Then, click on the Programs and Features option.
- You have to find the Microsoft Office then select the Change button.
- Now, pick the ‘Quick Repair’ option and then select the button of Repair.
Install MS Office Again
- Hold the Windows and R buttons over the keyboard to invoke the Run section.
- After that, input ‘Control’ into it and select the OK button to invoke the Control Panel.
- Navigate to the Programs option.
- Then reach the Programs and Features option.
- You should find the MS Office and then choose the Uninstall button.
- Now, download the new copy of MS Office through the official site and reinstall it.


Comments
Post a Comment