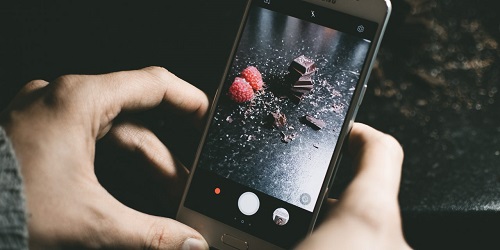
How to Click and Edit Raw Photos on Your Android Phone
Your smartphone can do a lot of work for you, from taking photos to calling someone. The camera is one of the best features of any smartphone. The software takes the data from the image sensor present in the camera and processes a photo after shooting it.
There is an option to click the photographs in Raw mode and process it according to your equation. Editing images can be a great tool to portray your images in a better way.

What is the RAW file?
When you click any photograph on your phone, and it saves it on the JPEG format, then it is not the raw file. The unprocessed and uncompressed ones are the Raw images, and sometimes these files have a larger size. Usually, these files get saved in the DNG format, and there are limited applications to open these files.
Your phone doesn’t have the authority to save the RAW images. You have to enable this feature to get this RAW file. For doing this, your phone must support the Camera2 API operating system. You can enable this feature in the settings and the camera interface option. In some smartphones, it is available for the pro or manual mode. Some third parties can do this work for you.
If you enabled this feature, the phone would save the image in both RAW and the compressed mode. But always remind that RAW images that are bigger in size will take more storage than the compressed one.
How Editing Change Tone of The Image?
If you have both JPEG and the RAW image, then you will have a plus point while editing in the software. Therefore, you know the real highlights in the JPEG image, so you can make it unique after some editing. Changing the white balance and adding some saturation would be too dramatic with the compressed image.
One of the best advantages of using the RAW photographs is that you can make changes and edit them at any level. The JPEG or the compressed image is not over or underexposed, but RAW files are. While editing in the application, you don’t need to compromise with the parts of pictures because all specific things get retained with the Raw images.
The mobile and desktop applications also offer many tools that can assist you in manipulating and processing the images. If you are doing editing with the Adobe Lightroom, then the application will give you the access to go beyond the contrast and exposure. You can do several things like texture, highlights, shadows, noise reduction, and much more.
There you will find the “Presets” feature that allows the pre-saved slider combination to be applied in a single click. You can even purchase some of them online, and if you know how to create them, it will be quite useful. For editing RAW images, you can use some of the applications like VSCO and Snapseed.
All the Power is in your hands
Even if you don’t want to shoot the RAW images. Some individuals don’t use this procedure when they want to send any image quickly. If you have clicked any RAW image, then it will take two steps to share the image. But when you prefer sharing the self-edited pictures, then you can take the pictures in the DNG format.
In simple words, if you want a customized edited image and want to get the best shot, then RAW images give you the best way to do this. There are other features as well, like HDR and night mode, that can help you in getting a perfect shot even in the tricky situation. Real flexibility always lies in your hand.
Aida Martin has diverse interests that range from writing to video games. She has always had a strong passion for writing. She likes to write about games, tech events, security, and whitepapers. Her vast and varied knowledge aided by her supreme writing skills, have made her a powerful writer at office.com/setup.
Comments
Post a Comment