How to Enable and Use Active Directory in your Windows 10 PC
Active Directory is an essential tool used to connect and manage Windows Server Technical Preview. Although Active Directory is a tool of Windows, it isn’t installed in Windows 10 by default. Microsoft has provided it online, so if any user wants to use the tool can get from Microsoft’s website. Users can easily find and install the tool for their version of Windows 10 from Microsoft.com. Here is how to enable and use Active Directory in Windows 10.

Steps to Install Remote Server Administration Tools
Before you start using the steps, make sure your system is connected to the internet.
- Sign in to your PC and wait to start completely.
- Then, start a browser.
- Visit “www.microsoft.com/en-us/download/details.aspx?id=45520”. This will open the page from where you can download the tool for your Windows 10.
Note: If you’re using the Windows 10 version other than Windows 10 Professional or Enterprise, then the installed tool will not run. - Scroll down a little and look for the ‘Download’ button. It will be in red.
- Click the ‘Download’ button. You can also choose your language by using the dropdown box next to ‘Select Language.’
- Now, tick the box of File Name. Clicking the File Name box will check all the files given below in the list.
- Click the ‘Next’ button.
- Select ‘Save File’ in the pop-up box and then click ‘OK.’ Remember, you need to do this for all the files to download them all. When the files start downloading to the computer, you can check the progress in ‘Downloads’ (in Google Chrome by using Ctrl + J).
- Once all the files download completely, open the ‘Downloads’ folder. This is the folder where all your downloads store in your PC.
- In the Downloads folder, double-click on the first file to install it.
- Install all the four files one by one.
Once the tool has been successfully installed. You can follow the below instructions to enable and use Active Directory in your Windows 10 PC.
How to activate Active Directory in Windows 10
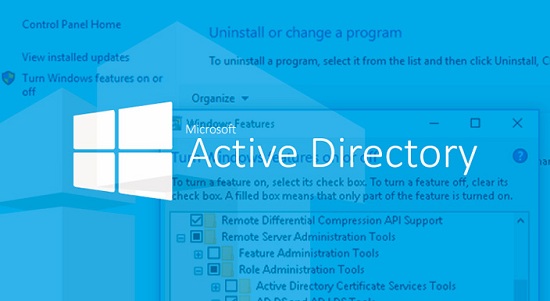
After adding the Remote Server Administration Tools to your system, you can easily enable Active Directory from the Control Panel. Here is how.
- Open Search and find ‘Control Panel.’
- Select the first search result and press ‘Enter.’ You should now see the control panel window on your screen.
- Click on ‘Programs’ option in the control panel.
- Under Programs and Features, click on ‘Turn Windows features on or off’ (second option).
- In the dialog box that pop-ups, scroll down, and find ‘Remote Server Administration Tools.’
- Click the ‘+’ box before “Remote Server Administration Tools.” This will expand a list of tools.
- Find ‘Role Administration Tools’ and also click it’s ‘+’ button.
- Then, tick the box of ‘AD DS Tools.’ Your PC will start installing some files and after installing, ask you to restart your computer.
- Click the ‘Restart now’ button, when appear.
Now, wait for your Windows 10 PC to boot again. This time, it will restart with enabled Active Directory; access the tool from ‘Windows Administrative Tools.’
Ellen Cooper is a creative person who has been writing blogs and articles about cybersecurity. She writes about the latest updates regarding mcafee.com/activate and how it can improve the work experience of users. Her articles have been published in many popular e-magazines, blogs, and websites.
Comments
Post a Comment