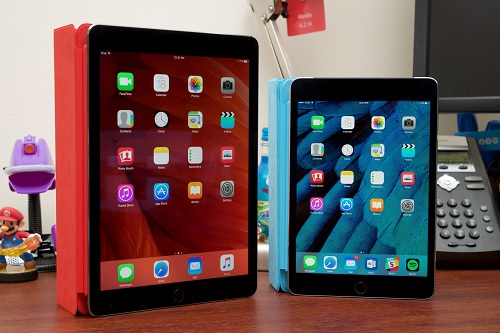
How to Fix iPad Can’t Connect to App Store
Without using the App Store, iPad users can’t download any application. But what if you face iPad can’t connect to App Store error? There are various solutions which you can try, and this article will explain all of them. So let’s get started.

Here’s How to Fix iPad Can’t Connect to App Store
• Go through the System Status
1. You have to check System Status to fix this issue.
2. Go to the Apple System Status screen.
3. Most of the servers go down for a few minutes.
4. It will take a few minutes to open the System Status page.
• Delete a Wi-Fi Network
1. You have to remove a Wi-Fi network which you are currently using.
2. After that, try to connect it again after a few seconds.
3. Click on the Settings tab.
4. Go to the WLAN option.
5. Choose the Wi-Fi network by clicking on the exclamation symbol.
6. Select the “Forget This Network” option.
7. Wait for a few minutes before reconnecting it.
• Log Out and Log In Again
1. For logging out, open the Settings tab.
2. Search for iTunes and App Store option.
3. After that, click on the Apple ID.
4. Wait for a few minutes before logging in again with the Apple ID and registered password.
• Changing the Date
1. Open the Settings tab.
2. Click on the General option.
3. Choose the Date and Time option.
4. Disable the “Set Automatically” option.
5. Start changing the date.
6. Go back to the Home screen.
7. Click on the App Store.
8. Here you can get an error text.
9. Go back to the “Date and Time” option.
10. Enable the “Set Automatically” option.
11. Now, check that you are still getting the iPad can’t connect to App Store error.
• Updating the iPhone
1. Click on the Settings option.
2. Go to the General option.
3. Choose the Software Update option.
4. You will get a notification in case the program is on its latest version.
5. In case there is an update is available, press on the Download & Install option.
6. Now, type the passcode.
7. Accept the legal agreement.
8. The device should be in its latest version.
9. You will get the notification once the software has completed its updating process.
10. Return to the “Software Update” option.
11. Click on the Install Now option.
12. Choose the Later option.
13. Select in case you wish to get the update notification.
14. In case you select the latter, ensure that the device is connected to the charger.
• Resetting the Settings tab
1. Click on the Settings tab.
2. Press on the General option.
3. Search for the Reset option.
4. Click on the Reset Network Settings option.
5. In case this option does not help you to fix this issue, then go to “Reset All Settings” option.
Ellen Cooper is a creative person who has been writing blogs and articles about cybersecurity. She writes about the latest updates regarding mcafee.com/activate and how it can improve the work experience of users. Her articles have been published in many popular e-magazines, blogs, and websites.
Comments
Post a Comment