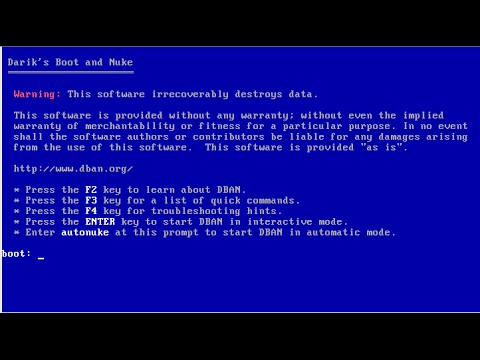
How to Wipe Your Windows PC Hard Drive
Some of the Windows computers come with a system recovery disc or already have in-built recovery processes on the hard disk drive. You can restore and reset your computer hard drive to remove problems with the system programs which includes corrupted and malicious files in Windows. Here’s how to wipe your computer hard drive.

Steps to Wipe the Hard Drive on Windows 10
• Go to the Start menu.
• Choose the Settings button.
• Choose the Update and security option located in the Settings option.
• Choose the Recovery button given in the left-hand navigation bar.
• Press on the Get Started option provided in the “Reset this PC” column.
• Click on the Keep my files or Remove everything button in case you to wipe your computer hard drive.
• Go through the on-screen prompts to start the recovery procedure.
Steps to Wipe the Hard Drive on Windows 8
• Click on the Windows and C keys together to launch the Windows Charms.
• Tap on the Search button.
• Enter reinstall in the search box.
• Make sure that you don’t click on the Enter button.
• Choose the Settings button.
• Choose the Remove everything and reinstall Windows option located on the left-hand column of the display.
• Tap on the Next button located on the “Reset your PC” display.
• Choose the Just remove my files option provided on the “Do you want to fully clean your drive” display.
• Otherwise, you can choose the Fully clean the drive option to remove all the files stored on the hard drive.
• Press on the Reset option given on the “Ready to reset your PC” display.
Steps to Wipe the Hard Drive on Windows 7 and Vista
• You need to place the Windows 7 or Vista installation DVD in the system DVD drive.
• Start the system again.
• After getting the “Press any key to boot from CD” option, you have to click a button given on the system keyboard.
• Tap on the Enter button located at the Windows Setup display.
• Click on any button given on the system keyboard.
• Choose the language and other details mentioned on the “Install Windows” webpage.
• After that, tap on the Next button.
• Go through the terms and conditions given on the License Agreement webpage.
• Press on the Next option.
• Select the Custom button provided on the Installation Type display.
• Click on the Drive Options button.
• You need to remove all the partitions on a hard drive for the Disk 0.
• Tap on the Disk 0.
• Click on the Next button.
Aida Martin is a Microsoft Office expert and has been working in the technical industry since 2002. As a technical expert, she has written technical blogs, manuals, white papers, and reviews for many websites such as office.com/setup.
Comments
Post a Comment