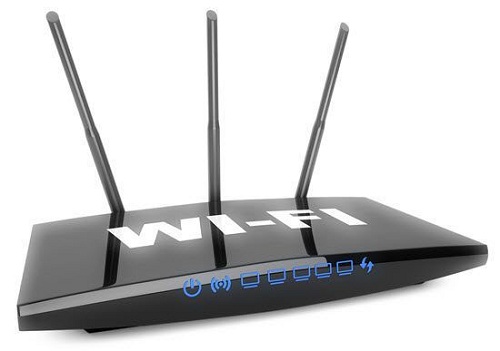
How to Change The Name of Your WiFi Router
Have you just bought a new router and want to change its default name? If you wish to change the current name of your WiFi, the process is not as simple as you think. Don’t panic; we are here to help you. In this article, you will learn how to change the name of your WiFi with a step by step tutorial. Once you learn the whole process, you will be able to change your WiFi name without much effort. Whether you own a Mac or Windows PC, the process is almost the same. Let’s dive in.

Step 1: Find the Address of Your WiFi Router
Finding address on a Windows PC:
The first step is to know the IP address of your WiFi Router. Once you know the address of your WiFi, the process will be pretty quick. Let’s see how to check the address of a router:
- Press Start + R keys together of your keyboard. It will open the Run dialogue box on your Windows PC. (You can also open the Run dialogue box by going to Start Menu> All Programs> Accessories> Run)
- Run is used to open some specific programs with the help of particular commands. Enter cmd and then press the OK button.
- Now you will see a black dialogue box on your screen. Type “ipconfig” command inside it and then press the Enter key on your keyboard.
- After that, Windows IP configuration will show up on the dialogue box. Your router IP address is located next to “Default Gateway.” Note it down on a notebook separately. We will use it in the next step.
How to Know the Address of Your Router on a Mac?
The process is a bit complicated in Mac devices. Let’s see the easiest way to know the address of your WiFi on your Mac.
- Find the Apple icon located at the top-right side of your Mac’s screen. Click on it.
- Now go to the System Preferences.
- Under System Preferences, go to Network
- A tab will show up on your screen. Now navigate to “Advanced” located at the bottom-right corner.
- Now you have to find the “TCP/IP” tab on the top side. Click on it.
- After that, look at your “Router” value and note it down somewhere else. We’ll be using it in the next step.
How to Change the Name and Password of Your WiFi?
Now you know the IP address of your router, the further process is pretty quick and straightforward. The below method is the same in both Mac and Windows PC:
- Open your favourite browser on your device.
- On your URL bar, type your router address and then hit the Enter key.
- If asked to enter the ID and password, then provide your ID and password and press ‘Login’ button.
- Now a new page will trigger on your browser, this is your router configuration page, and there you can change the name and even the password of the router.
- Find the “Change Name and Password” option.
- Then follow the on-screen instructions to complete the process.
The process is different in every router. Once you reach the router configuration page, you can easily change the password and the name of your WiFi.
Ellen Cooper is a technology enthusiast who loves writing about new advancements and IT threats on a regular basis. Her work focuses on the latest advancements in the realm of technology, social media, and cyber security at norton.com/setup.
Comments
Post a Comment